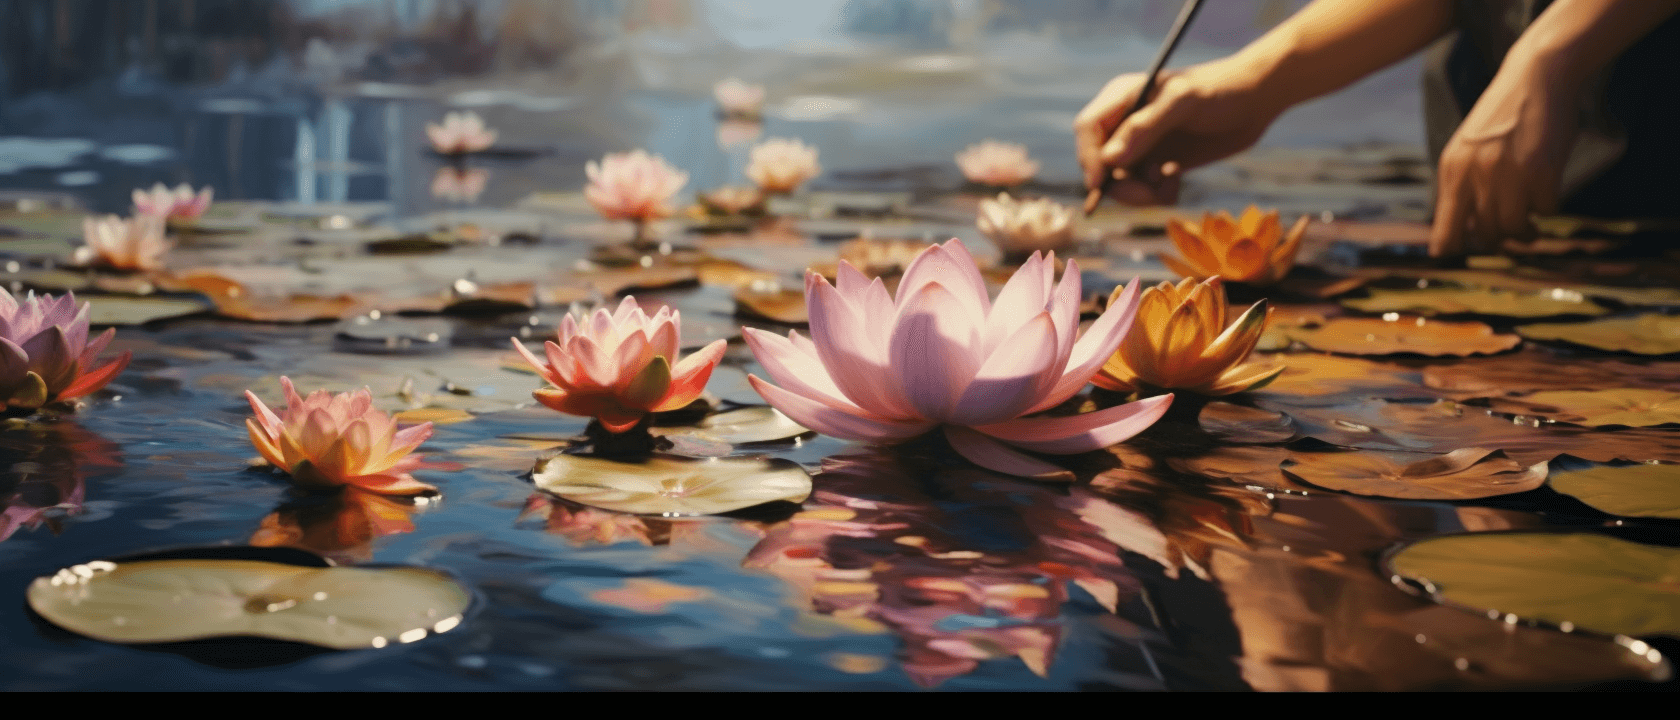
Water lilies are a popular subject for artists, especially those who work with watercolors. These delicate flowers, which float on the surface of ponds and other bodies of water, can be challenging to paint but are well worth the effort. In this guide, we will take you through the step-by-step process of how to paint a water lily, from selecting the right materials to adding the finishing touches.

Step 1: Sketching
The first step in painting a water lily is to sketch it out. Begin by lightly drawing the outline of the flower and the lily pad it rests on with a pencil. Pay attention to the shape of the petals and the curves of the pad. Keep your lines light and simple to make erasing easier later on.
Step 2: Adding the First Layer
Once you have your sketch, it’s time to start painting. Begin with the first layer, which will serve as the base for your water lily. Mix your paint with water to create a light wash, and use a large brush to apply it to the flower and pad. Be sure to cover the entire surface evenly, but don’t worry about getting too much detail at this stage.
Step 3: Adding the Second Layer
Once the first layer has dried, it’s time to add more detail to your water lily. Mix a darker color than the first layer, and use a smaller brush to paint the shadows and contours of the petals and the pad. Work slowly and carefully, building up the layers to create depth and texture.
Step 4: Adding the Final Details
Now that you have the base of your water lily in place, it’s time to add the final details. Use a fine brush to add the stamens and the veins on the lily pad. Pay attention to the colors and shapes to create a realistic effect. You may also want to add some reflections of the lily on the water’s surface to complete the painting.
