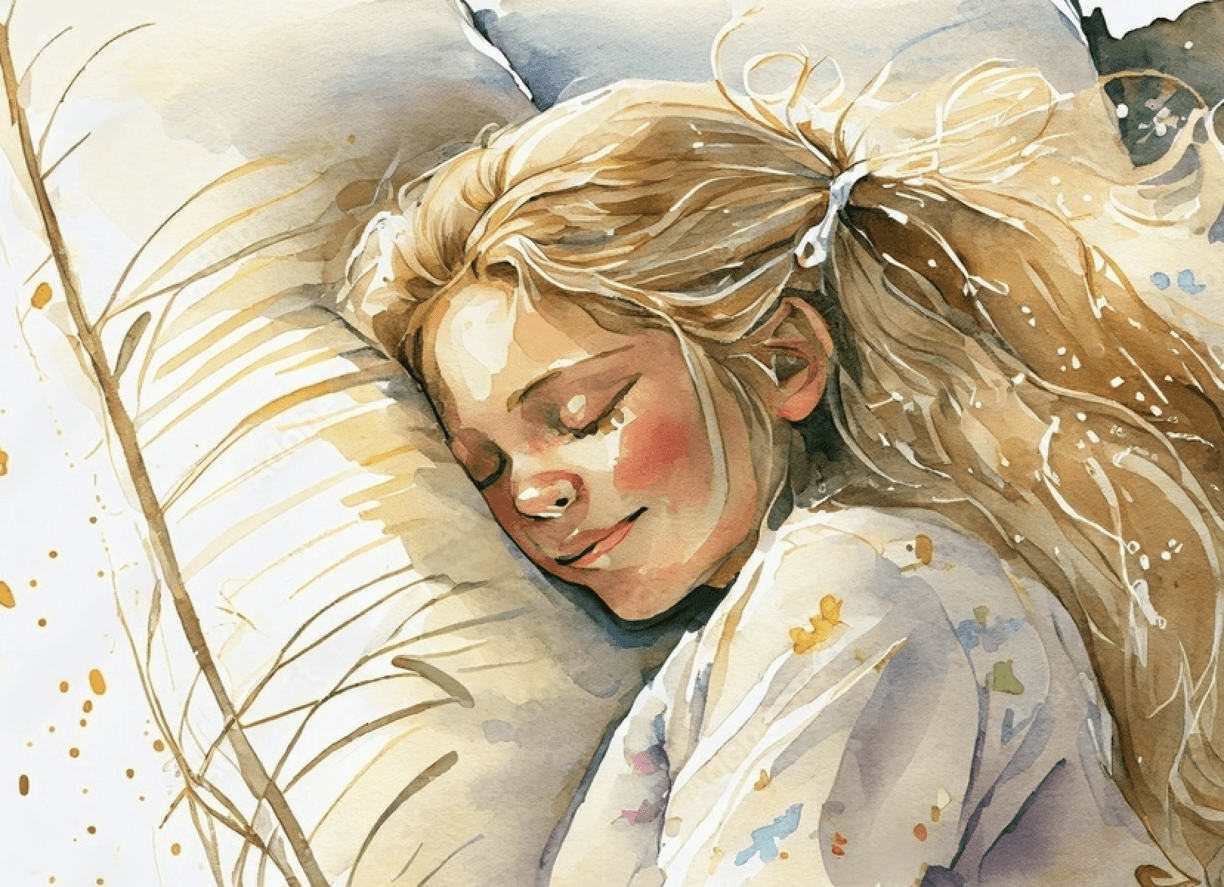
Watercolor painting is a beautiful and delicate art form that requires patience, skill, and attention to detail. One of the most challenging aspects of watercolor painting is painting realistic hair. In this article, we will discuss how to paint realistic hair with watercolor and we’ll share some secrets to give it that extra shine.
Sketching the Hair
The first step in painting realistic hair with watercolor is sketching the hair. Use a pencil to sketch the basic shape of the hair. You can use reference photos or real-life models to help you get an idea of what the hair should look like.
Painting the Base Layer
Once you have sketched the hair, it’s time to paint the base layer. Start by wetting the area where you want to paint the hair. Then, mix your paint with water to create a light wash. Use a small brush to apply the paint to the wet area.
Adding Shadows and Highlights
After you have painted the base layer, it’s time to add shadows and highlights. Use a darker shade of paint to add shadows to the hair. You can also use a lighter shade of paint to add highlights.
Adding Texture and Details
The next step is adding texture and details to the hair. Use a small brush to add texture and details such as individual strands of hair. You can also use a dry brush technique to create texture.
Tips for Blending Colors
Blending colors is an important part of watercolor painting. Here are some tips for blending colors effectively:
- Wet your paper before applying paint
- Use a clean brush when blending colors
- Work quickly before the paint dries
- Experiment with different techniques such as wet-on-wet and wet-on-dry
Painting blonde hair with watercolor
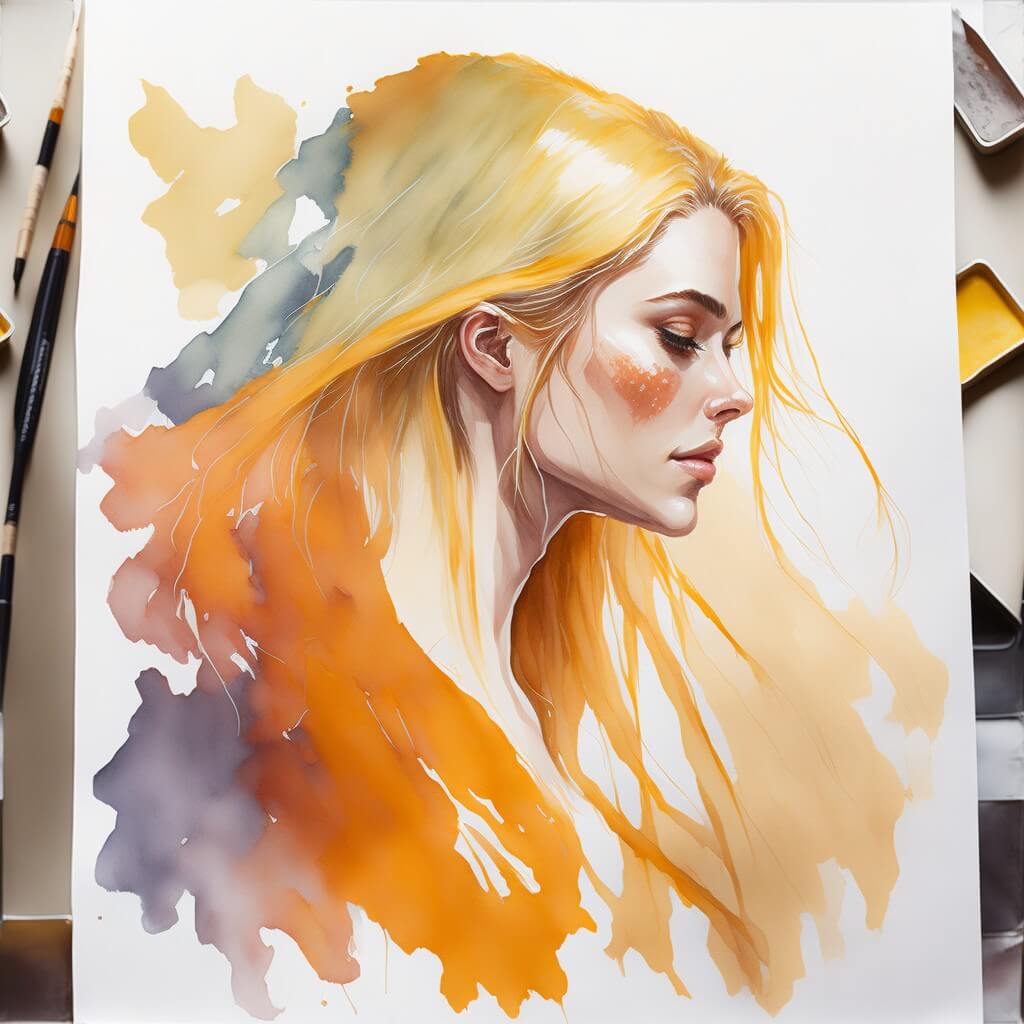
With a solid sketch and reference of what you want to paint you can start to;
- Wet the paper and start working with the wet-on-wet technique to get a base gradient. Try to make note of color changes and emphasize any colors you might see. Be aware of what angle the light is coming from and what color the light is as it affects the color of the hair. If you have areas you want bright or bright hair, you can use masking fluid before you start the painting.
- Continue by adding more refined shapes and darker tones when the paper has dried a bit, but is still wet. Focus on sculpting the shapes the hair has and make note of where there might be hard edges and when there are soft edges.
- Once the paper is dry, you can start adding the details such as single hair strands with your most detailed brush.
Painting brown with watercolor
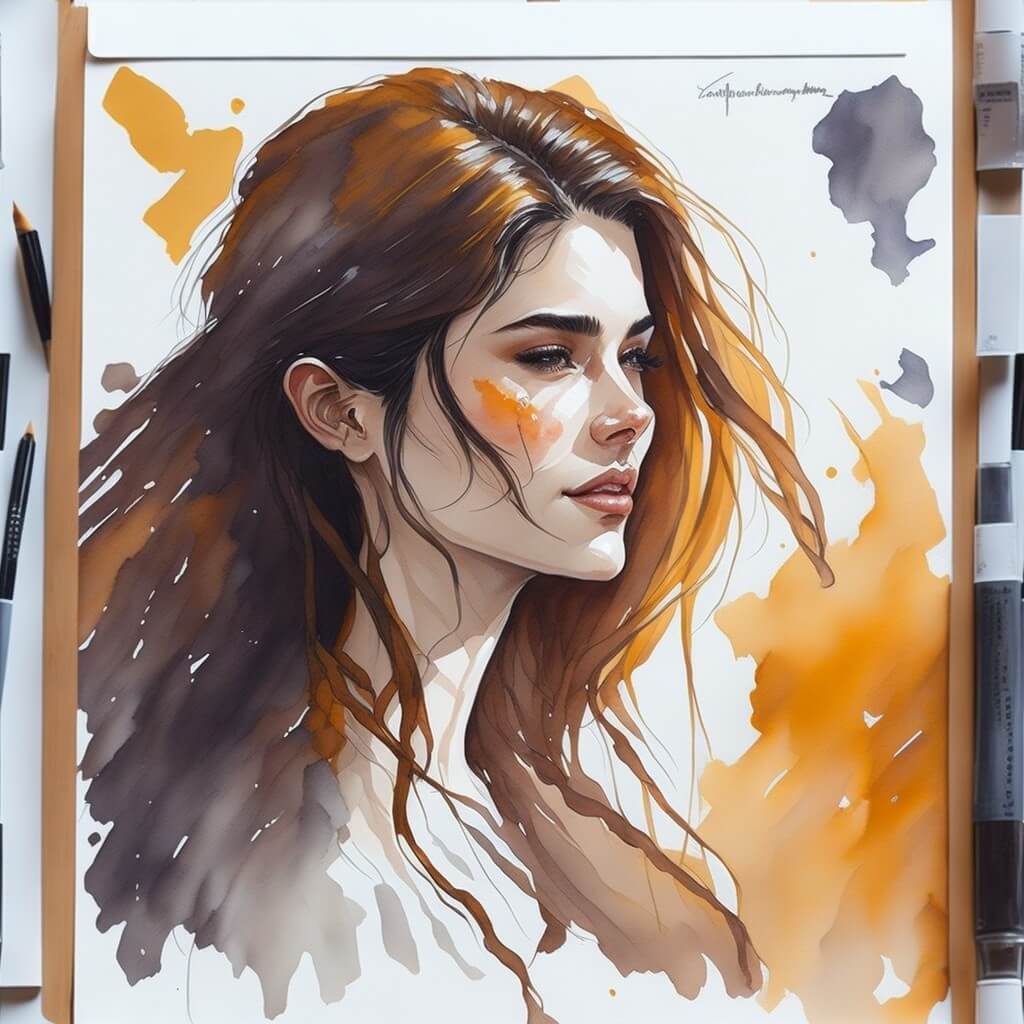
Start with a detailed sketch and reference of what you want to paint you can start to;
- Wet the paper and start working with the wet-on-wet technique to get a base gradient. Try to make note of color changes and emphasize any colors you might see. Be aware of what angle the light is coming from and what color the light is as it affects the color of the hair. If you have areas you want bright or bright hair, you can use masking fluid before you start the painting.
- Continue by adding more refined shapes and darker tones when the paper has dried a bit, but is still wet. Focus on sculpting the shapes the hair has and make note of where there might be hard edges and when there are soft edges.
- Once the paper is dry, you can start adding details such as single hair strands with your most detailed brush.
Painting brown with watercolor
Start with a detailed sketch and reference of what you want to paint you can start to;
- Wet the paper and start working with the wet-on-wet technique to get a base gradient. Try to make note of color changes and emphasize any colors you might see. Be aware of what angle the light is coming from and what color the light is as it affects the color of the hair. If you have areas you want bright or bright hair, you can use masking fluid before you start the painting.
- Continue by adding more refined shapes and darker tones when the paper has dried a bit, but is still wet. Focus on sculpting the shapes the hair has and make note of where there might be hard edges and when there are soft edges.
- Once the paper is dry, you can start adding details such as single hair strands with your most detailed brush.
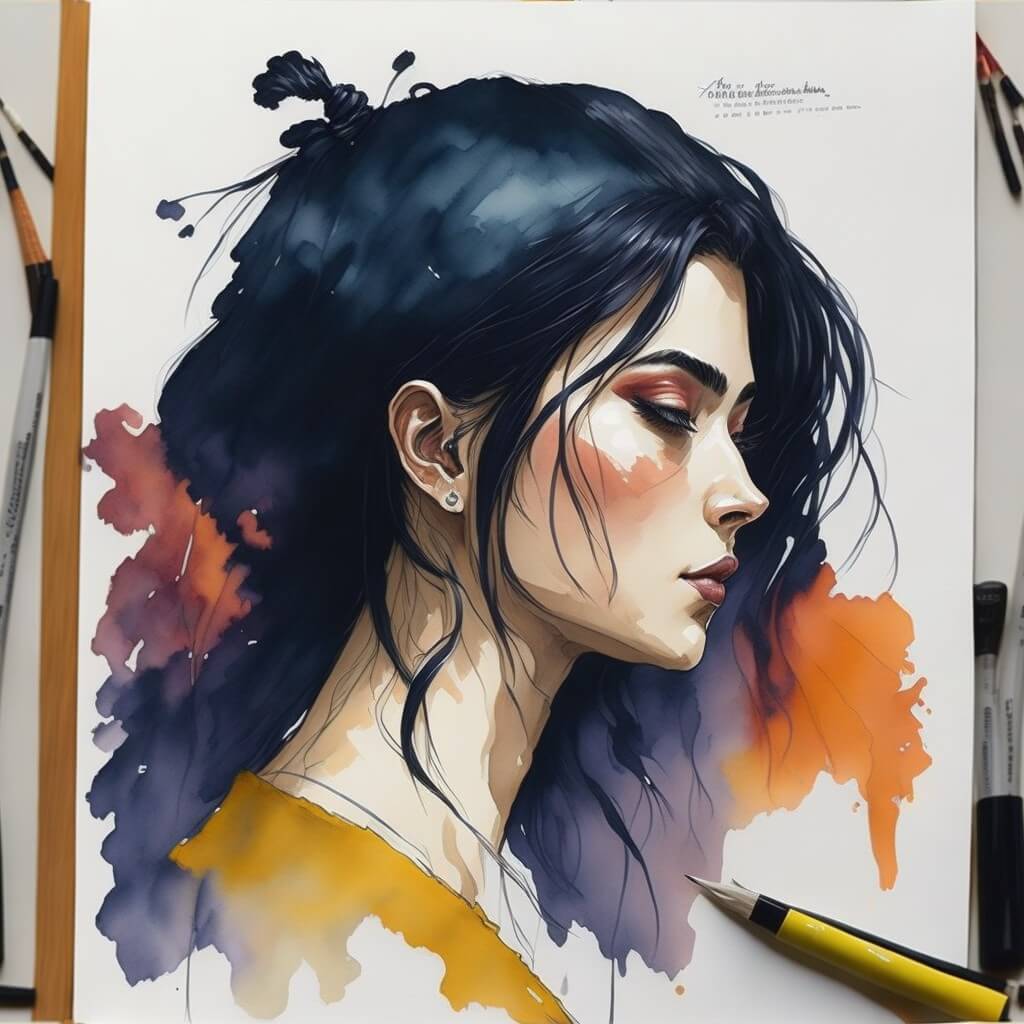
Painting red hair with watercolor
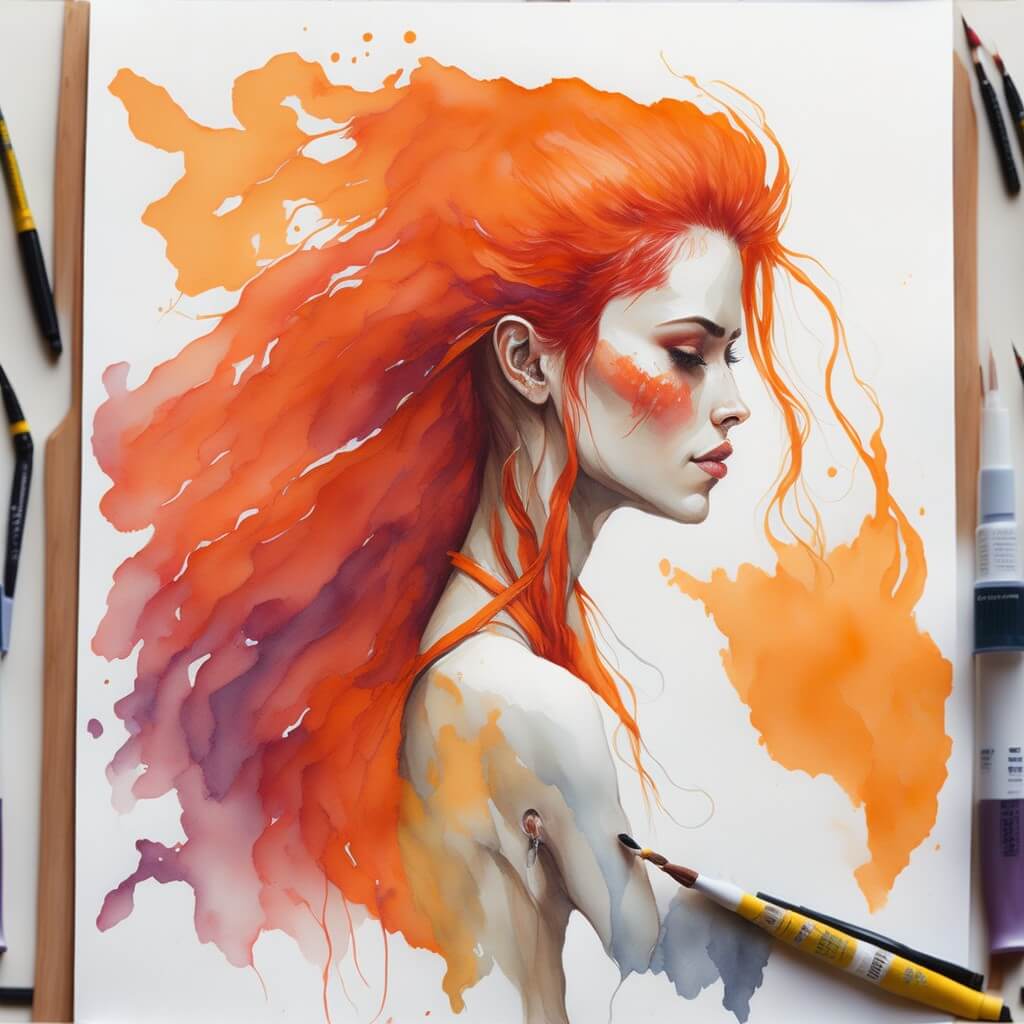
When you have a detailed sketch and reference of what you want to paint you can start to;
- Start by wetting the paper and start working with the wet-on-wet technique to get a base gradient. Try to make note of color changes and emphasize any colors you might see. Be aware of what angle the light is coming from and what color the light is as it affects the color of the hair. If you have areas you want bright or bright hair, you can use masking fluid before you start the painting.
- Continue by adding more refined shapes and darker tones when the paper has dried a bit, but is still wet. Focus on sculpting the shapes the hair has and make note of where there might be hard edges and when there are soft edges.
- Once the paper is dry, you can start adding details such as single hair strands with your most detailed brush.
Conclusion
In conclusion, painting realistic hair with watercolor requires patience, skill, and attention to detail. By following mentioned steps and tips, you can create beautiful and realistic hair in your watercolor paintings with practice.